No-fail Quick-rise Sourdough Pizza Crust | Ready in 2 hours!
This no-fail, quick-rise sourdough pizza crust recipe, is super easy to make, and full of amazing flavor! It uses simple ingredients and is a great way to put your sourdough starter to use. Not to mention it takes less than 3 hours from start to finish!

As an Amazon Associate, I earn a small commission from qualifying purchases at no extra cost to you. This post may contain affiliate links. For more information see my full disclosure here.
Pizza is considered a staple in most homes and is eaten at least once a week. It’s a favorite among children and adults alike and has been thought of as an easy weeknight dinner for as long as most of us can remember. Before I even began cooking from scratch or making my own sourdough starter. I had a love for homemade pizza, and I greatly looked forward to the rare occasions when we would make pizza at home when I was little.
But then, before I was cooking so much at home, and learning how to make everything I possibly could at home, I knew that as much as I loved making pizza at home, there was one thing that we never could seem to get right, the crust. I don’t usually think of myself as being particularly picky but when it comes to my pizza crusts. Well, even I have to admit I am very, very picky.
I knew there would be a long list of things I was looking for in a pizza crust and even more things I was looking for in a simple sourdough pizza crust. In my mind, I had all but set out to do the impossible when I set out to create this recipe. For one I knew I didn’t like sourdough discard pizza crust. So using discard was out of the question. And for two, I knew I wanted a pizza crust that checked all of the following boxes.
- A crust that used an active starter instead of active dry yeast.
- One that didn’t require any special flour. (no bread flour, einkorn flour, etc)
- That was quick rising 2-3 hours at most.
- One that would be thick enough to be called pizza crust but not so thick it tasted like bread.
- A crust that acted and behaved like traditional pizza crust but with sourdough.
- One that didn’t need to be prebaked
- And a sourdough crust that wouldn’t require any special equipment to make. No baking steel, bench scraper, stand mixer, pizza stone, or bread machine.
And above all, I wanted it to be easy to make, use few ingredients and be as close to foolproof as possible.
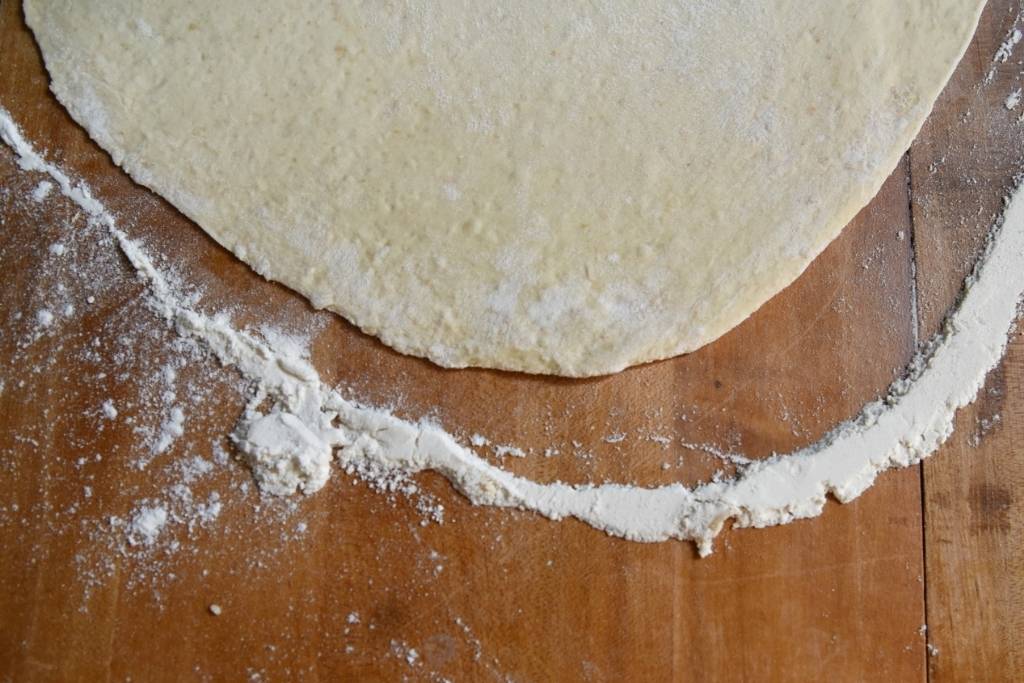
Needless to say, I had set the bar pretty high, even for a food lover. It was a daunting task and one I figured I’d be working on for the rest of my life. And I can’t even begin to tell you how surprised I was when this crust not only checked all the boxes listed above but also came out on the first try!
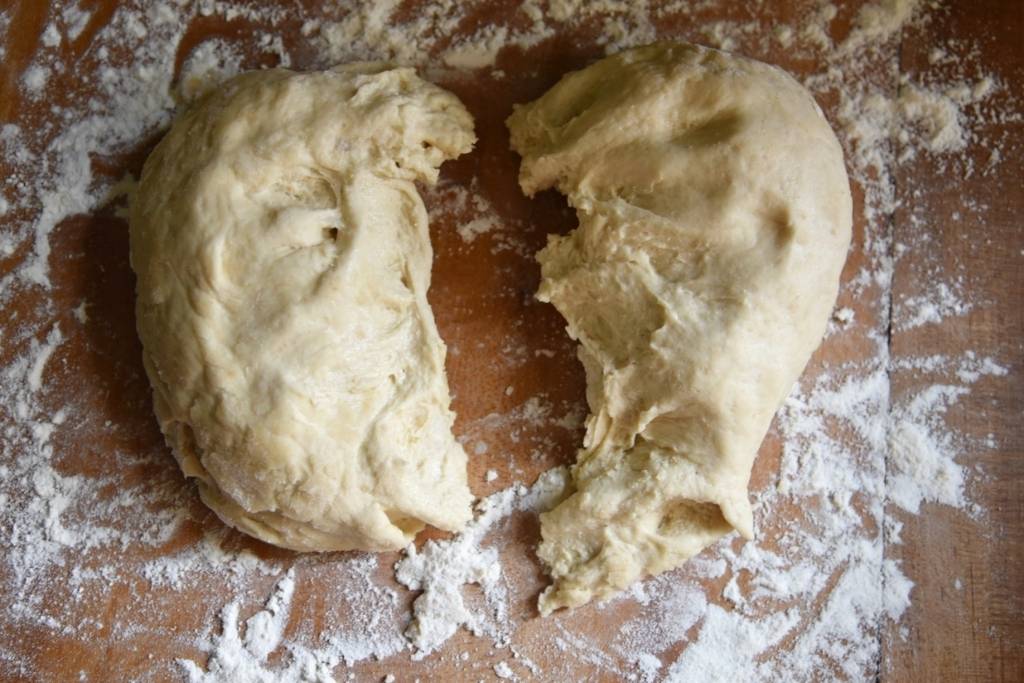
Somehow I managed to not only create a crust that checked the boxes and came out on the first try, but I also loved it. As did the rest of the family, which is saying a lot. I come from a large family of fairly picky eaters and several siblings that still won’t admit I can even cook. It took some convincing before they even believed I made this pizza crust. Siblings are the best by the way.
I would say overall this recipe is a win, a win for me and anyone else who has dreamed of having a homemade sourdough pizza crust that doesn’t need to rise overnight. It’s quick, it’s easy and it comes out perfect every time. It’s great for any at-home family pizza night, or when you need to whip up supper in a snap!
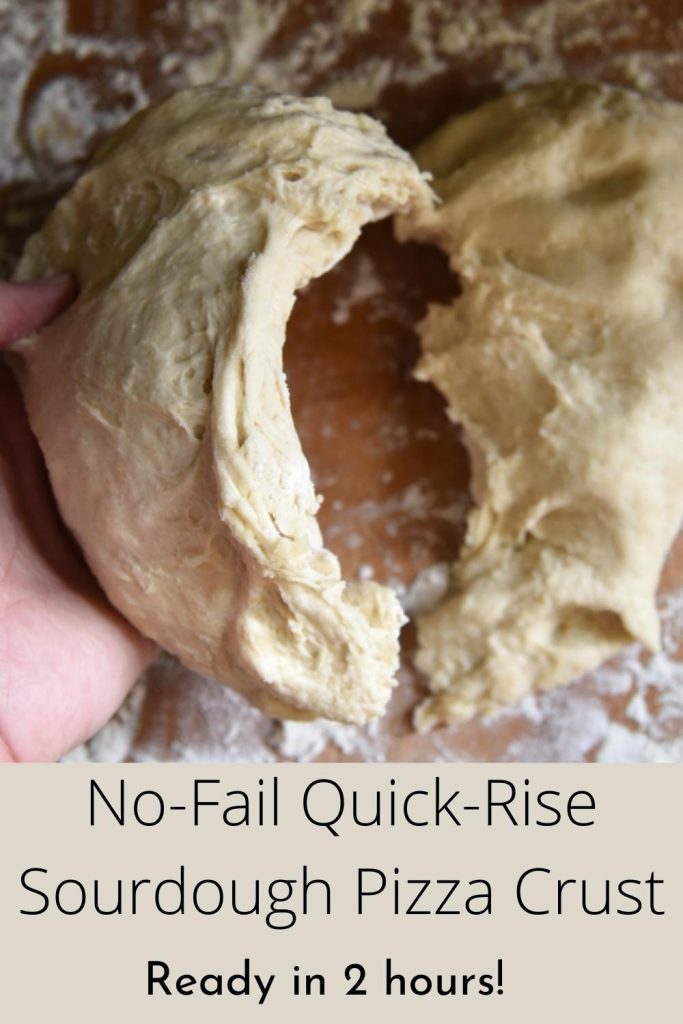
How to Make A No-fail Quick-Rise Sourdough Pizza Crust
This makes 2 10-12 inch pizza crusts.
- warm water
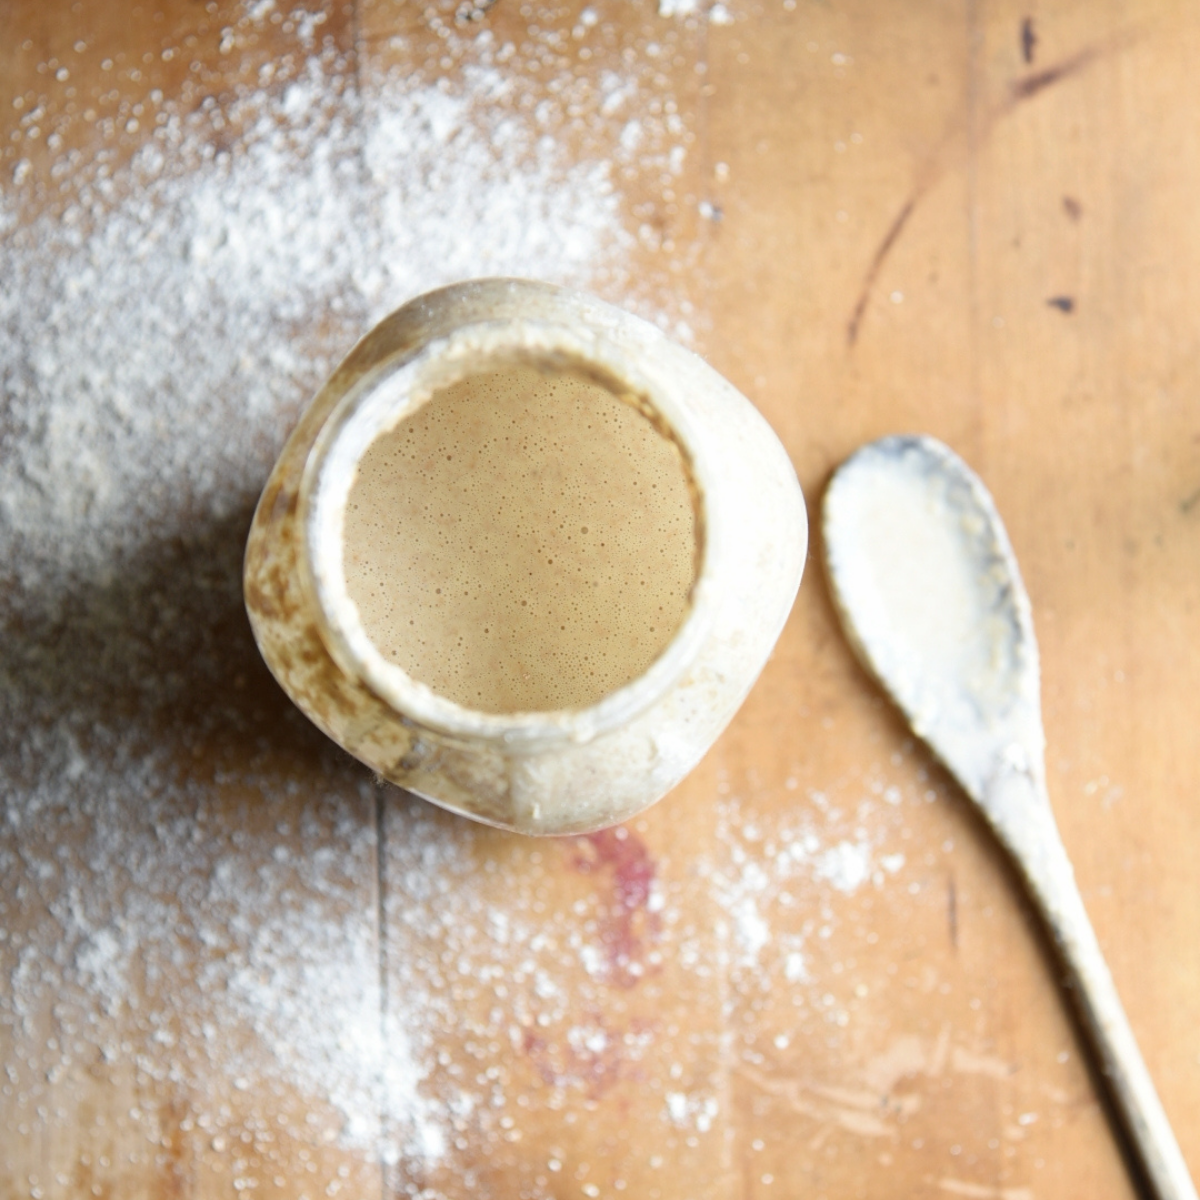
- active sourdough starter – If you don’t have a sourdough starter yet, free feel to check out my blog post. How To Make Your Own Sourdough Starter at home.
- honey
- avocado oil. You can use any oil here. I like avocado because it is healthier, has a high smoke point, and doesn’t have a taste, unlike olive oil or coconut oil. You can use any oil you like though.
- Sea Salt
- All-purpose flour
Directions
In a large bowl combine the water, sourdough starter, and honey, stir, and let the mixture stand for 3 minutes. -I like to use my Danish Dough whisk.
After the 3 minutes is up, add the remaining ingredients and mix until it comes together.
Turn the dough out onto a lightly floured surface and knead just until it comes together, it should be a smooth dough.
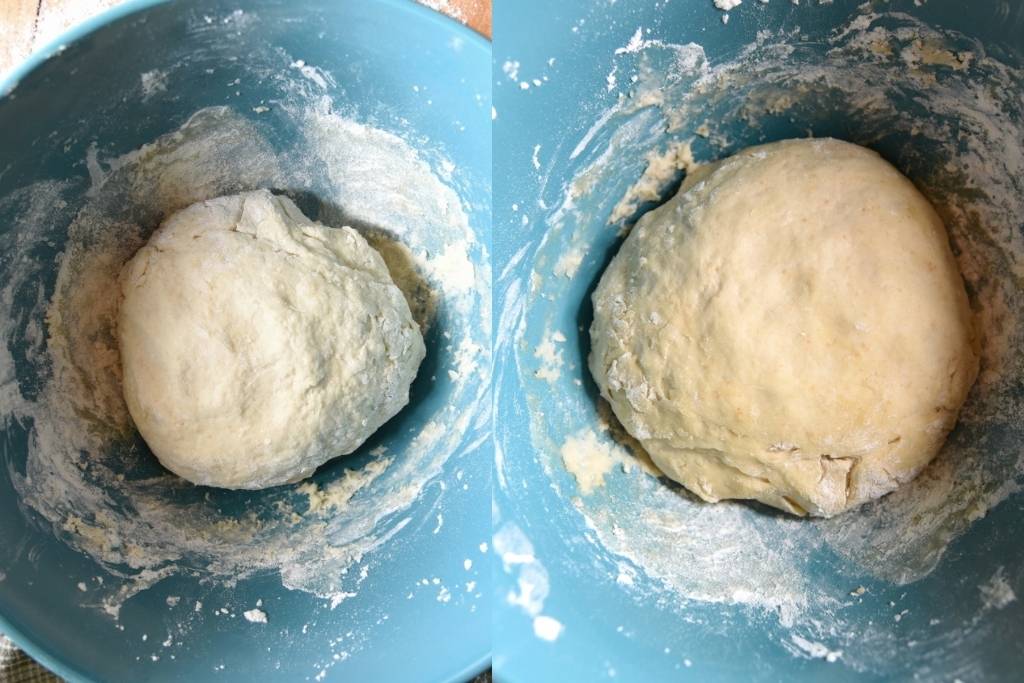
Return to the bowl cover it with a tea towel or a piece of plastic wrap and set it in a warm spot to raise rise for 2-3 hours.
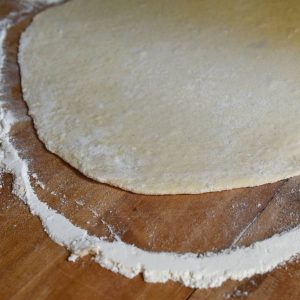
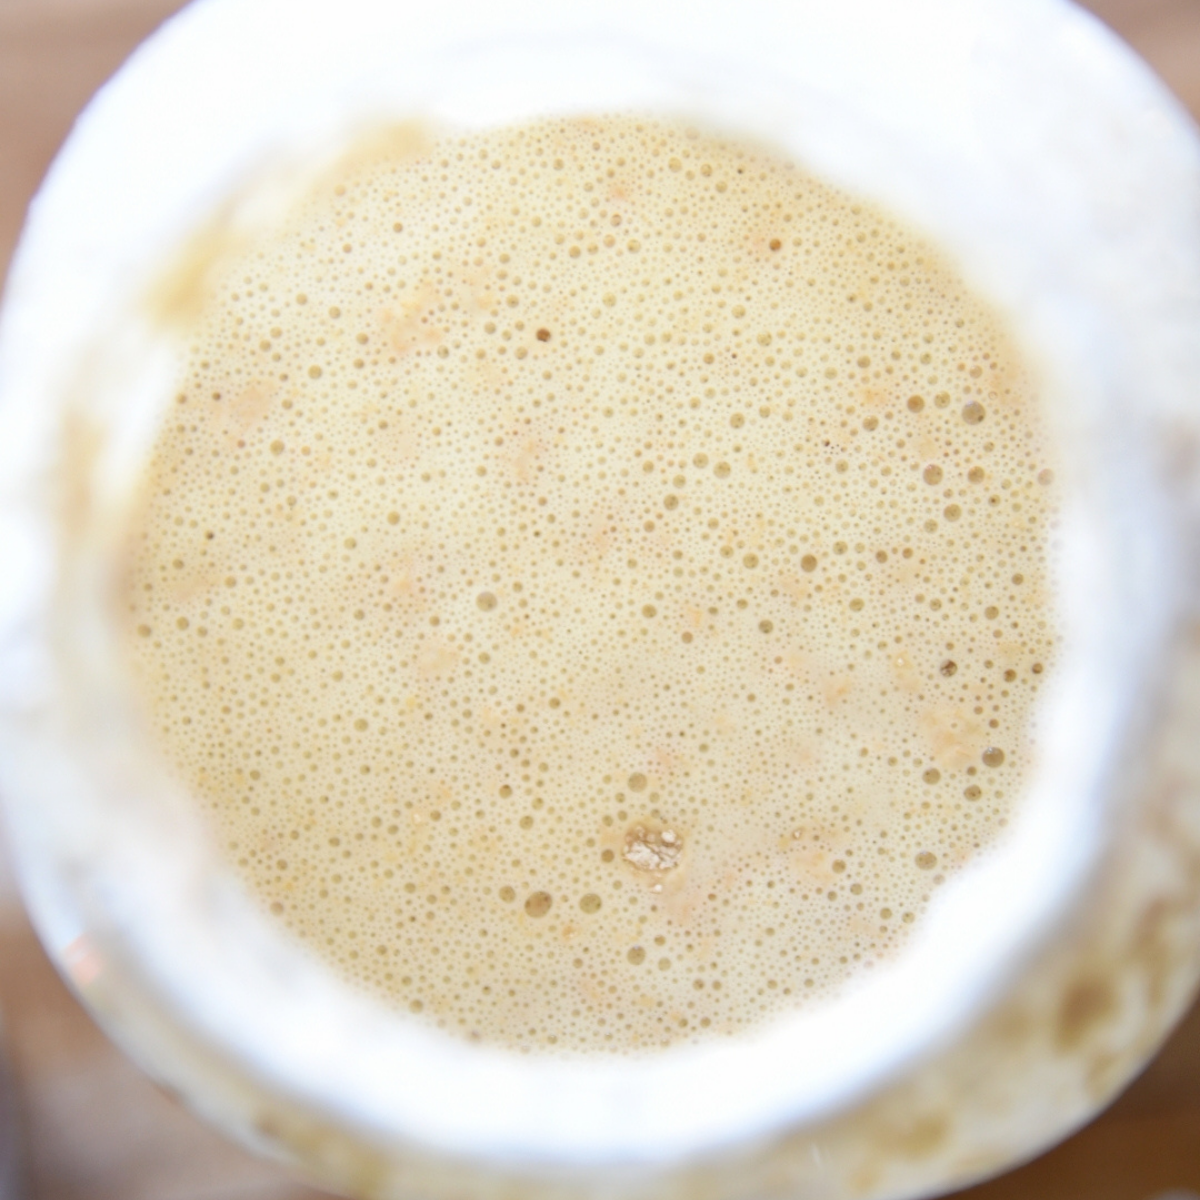
This next part is a little tricky, the dough isn’t going to double in size, but it will rise a little and you should be able to tell that it is rising. When you go to divide it in the next step, start by pressing down the dough in the middle with your fingers, it should feel and act just like any other dough. It would be alive and risen even so slightly you just won’t be able to see it as well. (See the picture below.)
After the dough has risen, divide it into two equal pieces. Shape the first half into a ball, place it on a floured work surface, and sprinkle a little flour into the top of the dough and the rolling pin as well.
Roll the dough into a 10-12 inch circle that is roughly 1/2 inch thick. Place the dough on a baking sheet that has been lined with a piece of parchment paper(I use a round one.)
Preheat the oven to 500F.
Top the crust with your favorite pizza toppings and bake for 10-14 minutes or until the crust is golden. Allow the finished pizza to cool for 5-10min. before cutting. Enjoy!
Notes
If you have never cooked pizza at such a high temperature I would recommend starting with 8 minutes, checking the pizza, and cooking for 2-minute increments until it is done.
I use a fork to gently lift up the edge of the pizza and check the crust, to see if it is done. You want it to be starting to brown on the bottom and to feel slightly crispy. Personally, I find this to be the best way to check the pizza crust!
How to Freeze Sourdough Pizza Crust
This easy Sourdough pizza crust can also be frozen! Sourdough pizza crusts freeze beautifully and make for easy meal prep and quick grab-and-go dinners.
There are two simple ways to freeze this pizza crust, personally, I use option one the most, but both ways work great!
Freezing method 1. Make the crust as directed above, once the crust has risen, turn it out onto a lightly floured surface. Divide the dough into two equal halves, wrap each half tightly in plastic wrap, write on the date, and place the wrapped crust in the freeze. When you are ready to use the crust pull it out of the freezer and place it in the fridge for 4-6 hours or until completely thawed, roll it out, add your favorite toppings, and bake as usual.
Tip. If you are planning on making pizza for supper, pull your cost out in the morning and put it in the fridge. Your pizza crust will be perfectly thawed and ready to use by late afternoon!
Freezing method 2. Make the crust as directed above, roll out the risen crust wrap the roll out pizza crust in plastic wrap, and pop it in the freezer. When you are ready to use the crust, simply pull it out of the freezer add your favorite toppings, and bake at 400 degrees F for 20-30 minutes.
Tip. Roll your pizza crust out of a piece of parchment paper, and place it in the freezer unwrapped for 20-30 minutes, this will firm up the dough and make it easier to wrap.
Sourdough pizza crust will last in the freezer for up to 3 months!
Related Recipes
How To Make A Sourdough Starter From Scratch.
Jalapeño Pineapple Pepperoni Pizza with BBQ sauce.
Homemade Pizza Sauce | With fresh herbs
Heirloom Tomato Pizza with Garlic Butter
No-fail Quick-rise Sourdough Pizza Crust
Ingredients
- 1/2 cup warm water
- 1 cup active sourdough starter
- 1 tbsp honey
- 2 tbsp avocado oil*
- 1 tsp salt
- 2- 2 1/2 cups all-purpose flour
Instructions
- In a large bowl combine the water, sourdough starter, and honey, stir and let the mixture stand for 3 minutes
- After the 3 minutes is up, add the remaining ingredients and mix until it comes together.
- Turn the dough out onto a lightly floured surface and knead just until it comes together, it should be a smooth dough.
- Return to the bowl cover with a tea towel and let it rise for 2-3 hours.**
- After the dough has risen, divide it into two parts. Shape the first half into a ball, and place it on a floured surface, sprinkle a little flour into the top of the dough and the rolling pin as well. Roll the dough into a 10-12 inch circle that is roughly 1/2 inch thick.
- Place the dough on a parchment-lined baking sheet(I use a round one.)
- Preheat the oven to 500F.
- Top the crust with your favorite pizza toppings and bake for 10-14 minutes or until the crust is golden. Allow the finished pizza to cool for 5-10min. before cutting. Enjoy!



I will definitely be trying this pizza crust, it looks very simple and easy. Thanks for the lovely recipe!
It is super easy to make and tastes amazing I hope you enjoy it!
I can’t wait to try this! Usually I’m totally lazy and just make a quick flatbread made out of starter but this sounds amazing for more of a “real” sourdough pizza crust!
This looks amazing!!
We made this yesterday for the first time and doubled recipe. Very good crust. Baked it on a pizza stone, and it had a nice crunch to it.
I’m glad you enjoyed it! I can’t wait to get a pizza stone, I love a crunchy crust!
I was just looking for a recipe like this! I’m trying to use my gorgeous sourdough starter as much as possible! Thanks for this recipe. I love the idea that it only needs two hours to be ready to bake. Can’t wait to try it!
I need to try this! My family loves pizza, but I never remember to make the crust early enough in the day to do it quickly.
that was my problem too! and probably the biggest reason I set out to make this crust, I’m a very forgetful person so trying to remember pizza crust the night before was out of the question, especially since I usually forget to even take my starter out of the fridge.
This sounds delicious! I am going to make this tonight. What do we do with the other half of the dough? Can we freeze it?
I hope you enjoy it! Personally, I’ve never tried freezing it before so I can’t say for sure, but lots of other people freeze their sourdough pizza crust and have great success doing so. I usually just make two pizzas with mine!
It freezes beautifully!! I make 4/6 at a time, roll them out, and freeze them for quick dinner nights or for when the teenagers are “starving”. Just grab the frozen crust and add sauce and toppings then bake. When I bake them from frozen I do 400 degs. For 20/30 minutes.
Hi Kay! Thanks so much for the feedback, I’m working on creating freezing directions for this recipe at the moment and I’m super happy to know freezing it works for others too!
I’ve made your crust once before and we loved it! Making it again tonight. Does it freeze well? I’m preparing postpartum freezer meals and would love to use your crust recipe for quick already made pizzas!
hi Katie I’m so glad you enjoyed it! Personally, I’ve never frozen it before, as I have a large family and we usually eat 2+ pizzas! But I have heard that sourdough crusts freeze well, from my understanding, if you want to freeze the dough, you would make it as usual, after it has risen you would divide the dough in half, wrap each half tightly in plastic wrap(or put it in a freezer bag) and freeze it for up to 3 months. Sorry I don’t have a definitive answer, but I hope this helps!
Can this be refrigerated for a couple days instead of put in the freezer?
Sorry for the late reply! My only concern is that the dough would overproof if left in the fridge. Sourdough will continue to rise even in the fridge, and would likely rise too much/overproof in left for a couple of days. So I wouldn’t do it. But there would also be no harm in trying it either! Hope this helps!